If you’re still trying to understand Azure Sentinel here is an article you can read that will give you a better understanding of the product.
Note that in order to set up Azure Sentinel you will need to have global administrator privileges for both Azure and Office 365.
Start with Log Analytics
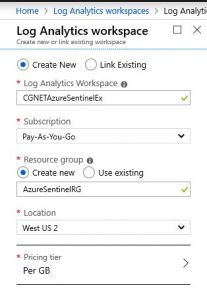
The first step in setting up Azure Sentinel is to set up a workspace for log analytics. Here’s an example of the workspace that I created.

One thing to note is that the workspace name and resource group name cannot have any spaces. I found this out the hard way.
Note also that you get to pick the Azure location where you want your data to be housed.

Connect Your Services to Azure Sentinel
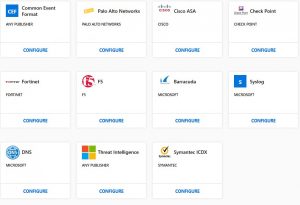
Now that I had the log analytics workspace setup it was time to connect services to Azure Sentinel. I wanted to connect Azure Active Directory and Office 365. But as you can see from the image below, there are other services that I could connect. For instance, I could connect a CheckPoint or Cisco firewall as part of setting up Azure Sentinel.

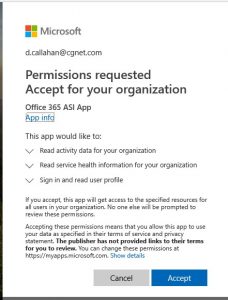
As part the setup of Azure Sentinel, I needed to connect our Office 365 tenant. And since we have MFA enabled for administrator accounts (you are doing this, correct?!) I also had to supply a code from my authenticator app.

Once I had our Office 365 tenant connected, I selected Exchange and SharePoint as record types I wanted to track.
On to Dashboards
Now we get to the fun part -setting up dashboards. I set up the Azure and Office 365 dashboards as outlined in Steve’s article. I also set up a couple of other dashboards that looked interesting: Threat Intelligence and Identity and Access.

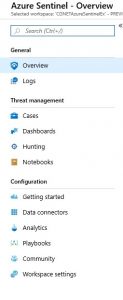
And with that, I completed setting up Azure Sentinel. The whole process (excluding interruptions) took less than an hour.
Of course, the interesting part is yet to come: looking at the data. It will take Azure Sentinel some time to begin collecting and analyzing log data. Look for a future post where I can drill down into the data to see what’s going on in CGNET’s Office 365 service.


0 Comments
Trackbacks/Pingbacks